RecyclerViewBindingAdapter Library
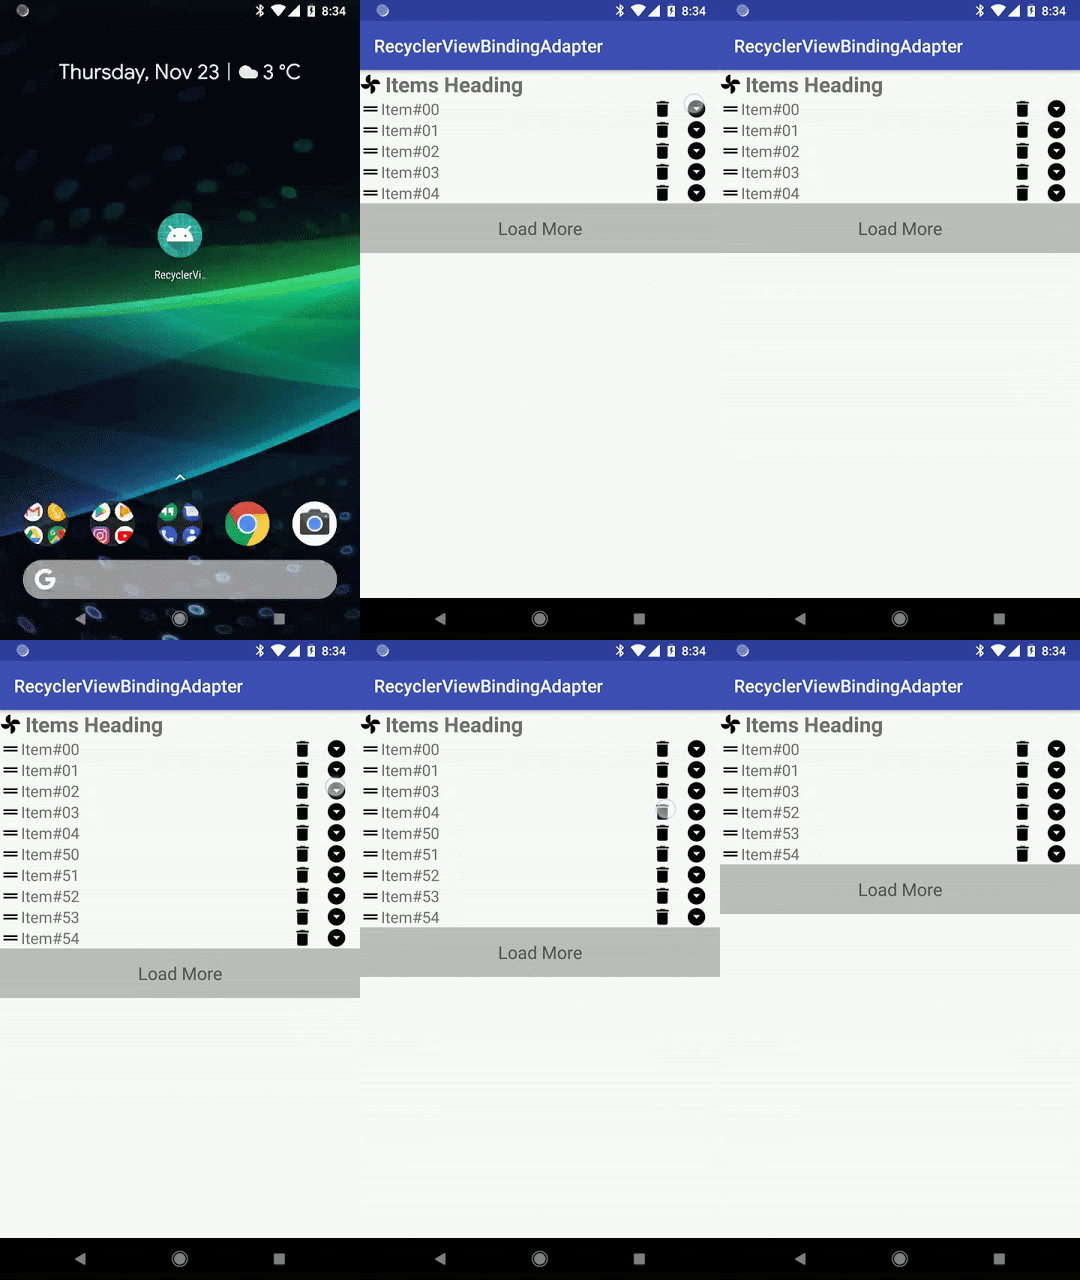
This library provides a powerful yet reusable RecyclerView adapter that leverages ObservableArrayList and DataBinding to simplify your life. Tell the adapter which layouts your models map to and then just modify your observable list and the adapter takes care of the rest. Its that simple! Check out the library and example app source code here.

Step 1:
Add jitpack repository to you project's build.gradle file
...
repositories {
        google()
        jcenter()
        maven { url 'https://jitpack.io' }
}
Step 2:
Enable Android data binding and add library dependency in the module's build.gradle file that you will be using the library in. You will need data binding to create layouts bound to ViewModels. The adapter dynamically creates all the rows and manages recycling of the layouts.
...
dependencies {
    ...
    compile 'com.github.Code-Principles:RecyclerViewBindingAdapter:v1.0'
    compile 'com.android.support:recyclerview-v7:26.1.0'
}
Step 3:
Create ObservableArrayList that will hold all the view models and initialize EasyRecyclerAdapter with it. Set up the mappings between the layouts you intend to show in the list and the view model and the variable id (variable name) from the layout's <variable> tag.
private ObservableArrayList dataList;
...
dataList = new ObservableArrayList<>();
EasyRecyclerAdapter adapter = new EasyRecyclerAdapter(dataList);
...
adapter.addMapping(R.layout.layout_heading_row,BR.headingViewModel,HeadingViewModel.class)
            .addMapping(R.layout.layout_load_more_row, BR.loadMoreViewModel, LoadMoreViewModel.class)
            .addMapping(R.layout.layout_item_row, BR.itemViewModel, ItemViewModel.class)
            .addMapping(R.layout.layout_subitem_row, BR.subitemViewModel, SubitemViewModel.class);
recyclerView.setAdapter(adapter);
...
dataList.add(new HeadingViewModel(new HeadingModel("Items Heading")));
...
Step 4:
For each row you need to create a view model that has some data and a layout with elements that use ViewModel's properties.
public class HeadingViewModel {
    private HeadingModel headingModel;

    public HeadingViewModel(HeadingModel headingModel) {
        this.headingModel = headingModel;
    }

    public HeadingModel getHeadingModel() {
        return headingModel;
    }
}
and the layout uses the view model.
<?xml version="1.0" encoding="utf-8"?>
<layout xmlns:android="http://schemas.android.com/apk/res/android"
    xmlns:tools="http://schemas.android.com/tools">
    <data>
        <variable
            name="headingViewModel"
            type="com.codeprinciples.recyclerviewbindingadapter.viewmodels.HeadingViewModel"/>
    </data>
    <TextView
        android:layout_width="match_parent"
        android:layout_height="wrap_content"
        android:textSize="24sp"
        android:textStyle="bold"
        android:drawableLeft="@drawable/ic_toys"
        android:drawablePadding="5dp"
        android:text="@{headingViewModel.getHeadingModel().getHeading()}"
        android:gravity="center_vertical"
        tools:text="Heading Text"/>
</layout>
Resources:
-Source code for library and sample app here
-My intro lesson on DataBinding here
-Official DataBinding documentation here
Liked this blog post? Want to learn more?
Take my Udemy course on Android Data Binding here